Woodworker's Journal 2004 Spring, страница 62
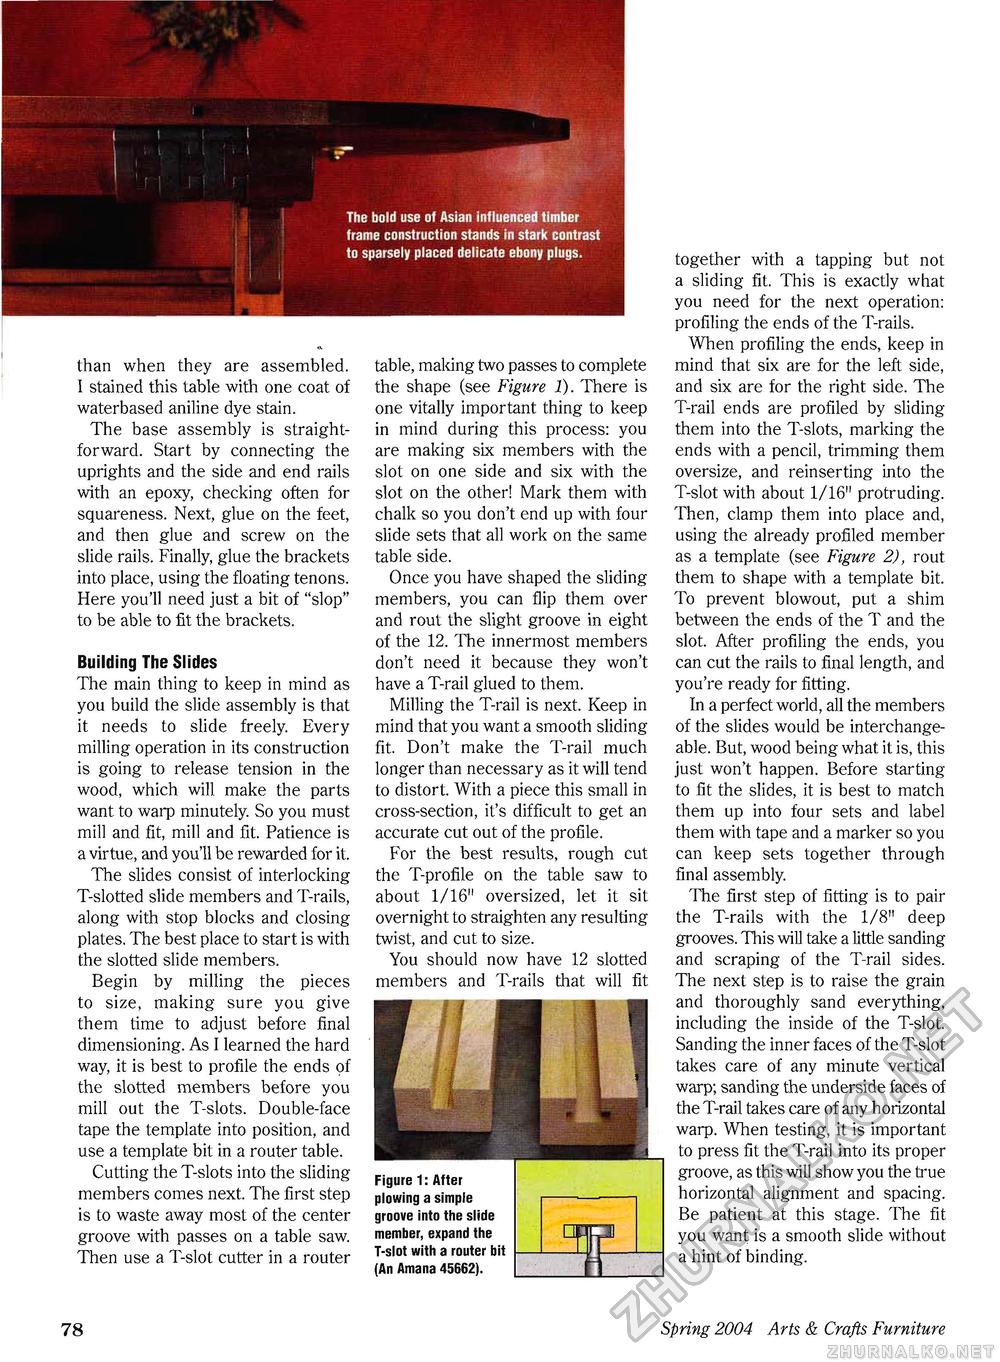
The bald use of Asian influenced timber frame construction stands in stark contrast to sparsely placed delicate ebony plugs. than when they are assembled. I stained this table with one coat of waterbased aniline dye stain. The base assembly is straightforward. Start by connecting the uprights and the side and end rails with an epoxy, checking often for squareness. Next, glue on the feet, and then glue and screw on the slide rails. Finally, glue the brackets into place, using the floating tenons. Here you'll need just a bit of "slop" to be able to fit the brackets. Building The Slides The main thing to keep in mind as you build the slide assembly is that it needs to slide freely. Every milling operation in its construction is going to release tension in the wood, which will make the parts want to warp minutely. So you must mill and fit, mill and fit. Patience is a virtue, and you'll be rewarded for it. The slides consist of interlocking T-slotted slide members and T-rails, along with stop blocks and closing plates. The best place to start is with the slotted slide members. Begin by milling the pieces to size, making sure you give them time to adjust before final dimensioning. As I learned the hard way, it is best to profile the ends of the slotted members before you mill out the T-slots. Double-face tape the template into position, and use a template bit in a router table. Cutting the T-slots into the sliding members comes next. The first step is to waste away most of the center groove with passes on a table saw. Then use a T-slot cutter in a router table, making two passes to complete the shape (see Figure J). There is one vitally important thing to keep in mind during this process: you are making six members with the slot on one side and six with the slot on the other! Mark them with chalk so you don't end up with four slide sets that all work on the same table side. Once you have shaped the sliding members, you can flip them over and rout the slight groove in eight of the 12. The innermost members don't need it because they won't have a T-rail glued to them. Milling the T-rail is next. Keep in mind that you want a smooth sliding fit. Don't make the T-rail much longer than necessary as it will tend to distort. With a piece this small in cross-section, it's difficult to get an accurate cut out of the profile. For the best results, rough cut the T-profile on the table saw to about 1/16" oversized, let it sit overnight to straighten any resulting twist, and cut to size. You should now have 12 slotted members and T-rails that will fit Figure 1: After plowing a simple groove into the slide member, expand the T-slot with a router bit (An Amana 45662). together with a tapping but not a sliding fit. This is exactly what you need for the next operation: profiling the ends of the T-rails. When profiling the ends, keep in mind that six are for the left side, and six are for the right side. The T-rail ends are profiled by sliding them into the T-slots, marking the ends with a pencil, trimming them oversize, and reinserting into the T-slot with about 1/16" protruding. Then, clamp them into place and, using the already profiled member as a template (see Figure 2), rout them to shape with a template bit. To prevent blowout, put a shim between the ends of the T and the slot. After profiling the ends, you can cut the rails to final length, and you're ready for fitting. In a perfect world, all the members of the slides would be interchangeable. But, wood being what it is, this just won't happen. Before starting to fit the slides, it is best to match them up into four sets and label them with tape and a marker so you can keep sets together through final assembly. The first step of fitting is to pair the T-rails with the 1/8" deep grooves. This will take a little sanding and scraping of the T-rail sides. The next step is to raise the grain and thoroughly sand everything, including the inside of the T-slot. Sanding the inner faces of the T-slot takes care of any minute vertical warp; sanding the underside faces of the T-rail takes care of any horizontal warp. When testing, it is important to press fit the T-rail into its proper groove, as this will show you the true horizontal alignment and spacing. Be patient at this stage. The fit you want is a smooth slide without a hint of binding. 10 Spring 2004 Arts & Crafts Furniture |


